Get Apache NiFi Course at Special Price
So you are a beginner and have no idea about what is NiFi then you have came to this right place. In this beginners friendly article you are going to learn everything step by step.

Definition from Official Documents
Put simply, NiFi was built to automate the flow of data between systems. While the term ‘dataflow’ is used in a variety of contexts, we use it here to mean the automated and managed flow of information between systems. This problem space has been around ever since enterprises had more than one system, where some of the systems created data and some of the systems consumed data. The problems and solution patterns that emerged have been discussed and articulated extensively.
Definition From Apache Docuements
Layman Definition
In a layman term, NiFi is a data flow management tool to move data from many different types of sources to many different types of targets. A typical example can be reading streaming data from Twitter and then performing some enrichment or business logic, and then loading the data to Data Lake (Typically Hadoop).
Apache NiFi Architecture
A Typical Architecture of NiFi is as shown in the below image:

How To Install NiFi?
Apache NiFi can be installed on a standalone server as well as on a cluster managed by Apache Zookeeper. In This section we will be discussing how to install NiFi in a Standalone mode on a Windows or Linux Server.
If you’re someone who likes to see video rather than reading, please watch below videos to see the steps you need to follow to install NiFi on a Windows Machine. For others, continue reading below:
| Prerequisite | URL | Version | Remarks |
| Java | https://www.oracle.com/java/technologies/javase-jdk8-downloads.html | 8 or Above | You need to Sign-Up to www.oracle.com, in order to download the software. Alternatively you may download Java Portable software which does not require an installation. |
| JAVA_HOME | Ensure JAVA_HOME path is setup on your server, before you install Apache NiFi. | ||
| Apache NiFi | https://nifi.apache.org/download.html | NiFi 1.11.4 | Latest Version of Apache NiFi is 1.11.4 which was released on March 22, 2020. |
| Port | 8080 | By Default, NiFi web service runs on port 8080, make sure that no application is running on port 8080. Otherwise NiFi service will not start if other application is already using port 8080. If required, You may consider changing NiFi default port by going to nifi.properties file which is inside conf directory. | |
| Apache Zookeeper | Port 2181 | Apache NiFi uses embedded zookeeper to run NiFi. By default zookeeper runs on port 2181. If required, You may consider changing zookeeper port by going to nifi.properties file which is inside conf directory. | |
| Eclipse Jetty | Eclipse Jetty is a Java HTTP server and Java Servlet container. Apache NiFi uses Jetty to run it’s web application. Note: Currently there is no option to change this to Tomcat or other web servers. | ||
| H2 Database | Apache NiFi uses H2 database to keep it’s application related data. Apache NiFi creates two databases inside /database_repository directory. Names of these databases are: 1. nifi-flow-audit 2. nifi-user-keys Note: You don’t need to install these databases separately. NiFi takes care of installation of H2 embedded database during the installation of Apache NiFi. Currently there is no option to change this default database to any other database. |
Apache NiFi Installation on a Windows Server
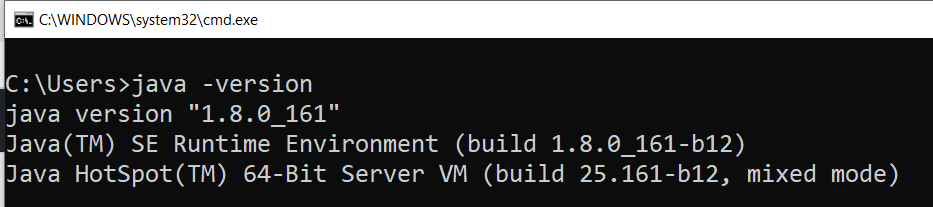
Step 1: Download Java and Install it. Java installation is pretty straight forward. You may follow the steps here.
Step 2: Set JAVA_HOME path to point to your java home directory. This is important step and should not be missed. Once you do that, please open a windows command prompt and type java -version and you should be able to see the version of Java running on your system. If you see an error, it means Java installation was not proper.
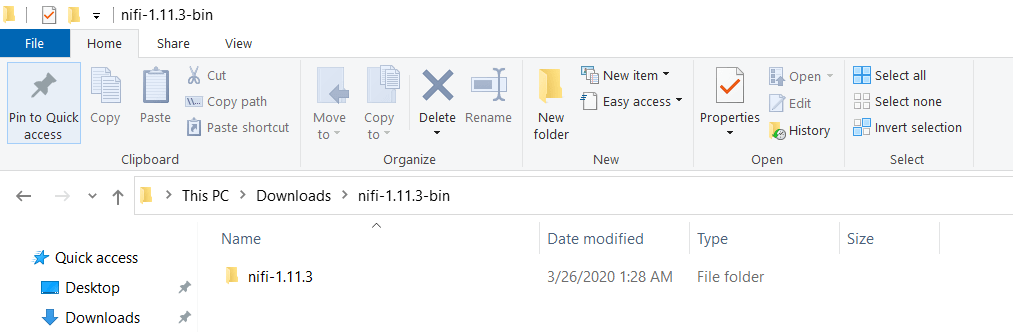
Step 3: Download NiFi software, and unzip the file. Post that you should see a directory similar to as shown below. Please note that version of NiFi may be different in your case.
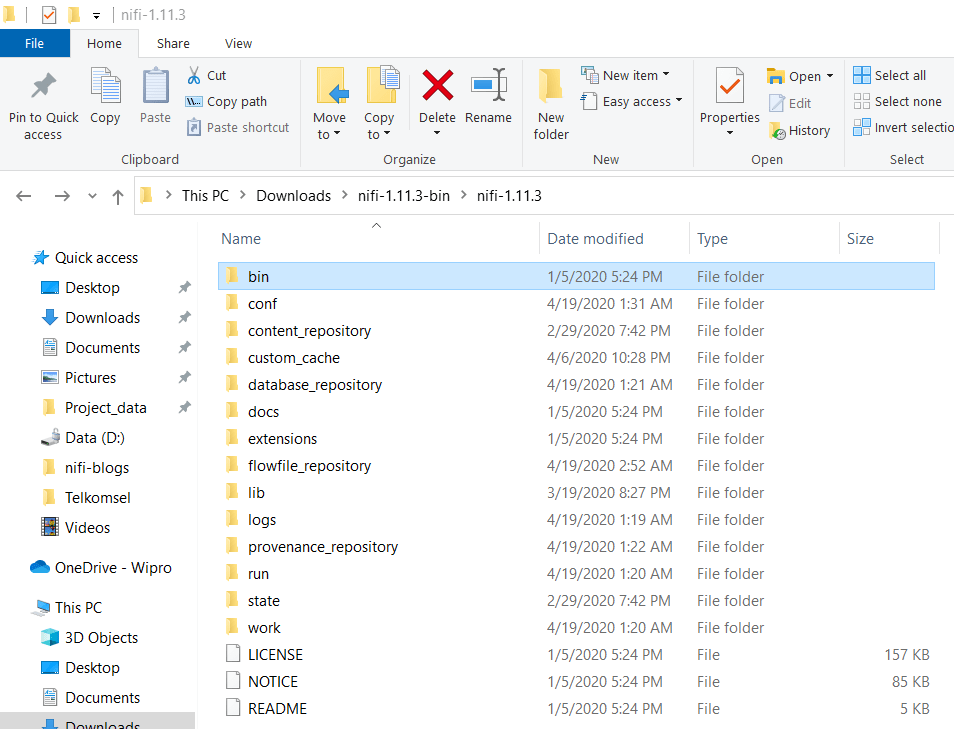
Step 4: Go Inside NiFi folder and you should be able to see a bin folder.
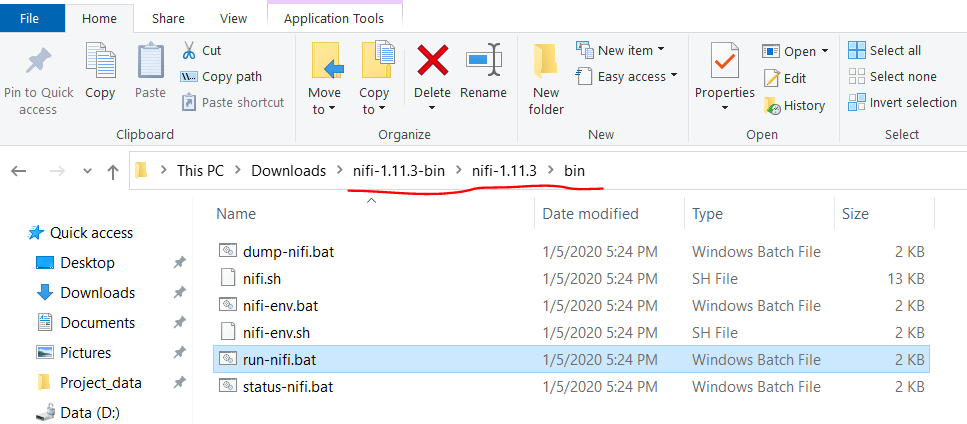
Step 5: Double click on “run-nifi.bat” script to start NiFi installation.
Step 6: Now you can go to your web browser and type http://localhost:8080/nifi and wait for NiFi screen to appear.
Apache NiFi Installation on a Linux Server
You may consider watching this video to follow step by step procedure to install NiFi on a Linux Server.
Installation of NiFi on a Unix Machine is no different than installing it on a Windows Machine. Please follow the first 4 steps mentioned above:
- Download Java software and install it.
- Set JAVA_HOME
- Download and Extract NiFi Software
- Change current directory to nifi.x.xx.xx/bin directory
- Type below command to start NiFi.
- nifi.sh start
Continue reading more about NiFi here.
- Installing Apache NiFi Cluster on LinuxInstalling Apache NiFi Cluster on Linux is pretty straightforward, to be honest. If you follow the steps mentioned… Read more: Installing Apache NiFi Cluster on Linux
- Installing NiFi Cluster on Windows ServerIn this article I am going to show you steps for Installing NiFi Cluster on Windows Server. Please… Read more: Installing NiFi Cluster on Windows Server
- Apache NiFi Cluster in DetailWhat’s a cluster? To learn about Apache NiFi Cluster in Detail first you should understand about cluster. A… Read more: Apache NiFi Cluster in Detail
- Splitting Large Files to Smaller Files in NiFiSplitting Large Files With Nifi is quite easy when you know the right approach to do that. In… Read more: Splitting Large Files to Smaller Files in NiFi
- Apache NiFi Best PracticesThis article outlines Apache NiFi best practices for better flow organization, including labeling, color coding, and avoiding root-level storage.

Comments are closed.